If you are like me, you love fabric. You love the colors, the textures, and the idea that something beautiful can be made from it. And like me, you love fabric so much that you buy it without having a project in mind. Sound familiar? I always tell myself that I will use it one day, but the pile just keeps growing. Now I have so many yards and scrap pieces stored in my guest bedroom that visitors simply cannot stay overnight. Rather than have my fabric take up valuable space in my small house, I’ve decided to take action and come up with a few crafts and projects that will help use up any extra fabric I have lying around.
Here are 5 easy ways to use extra fabric:
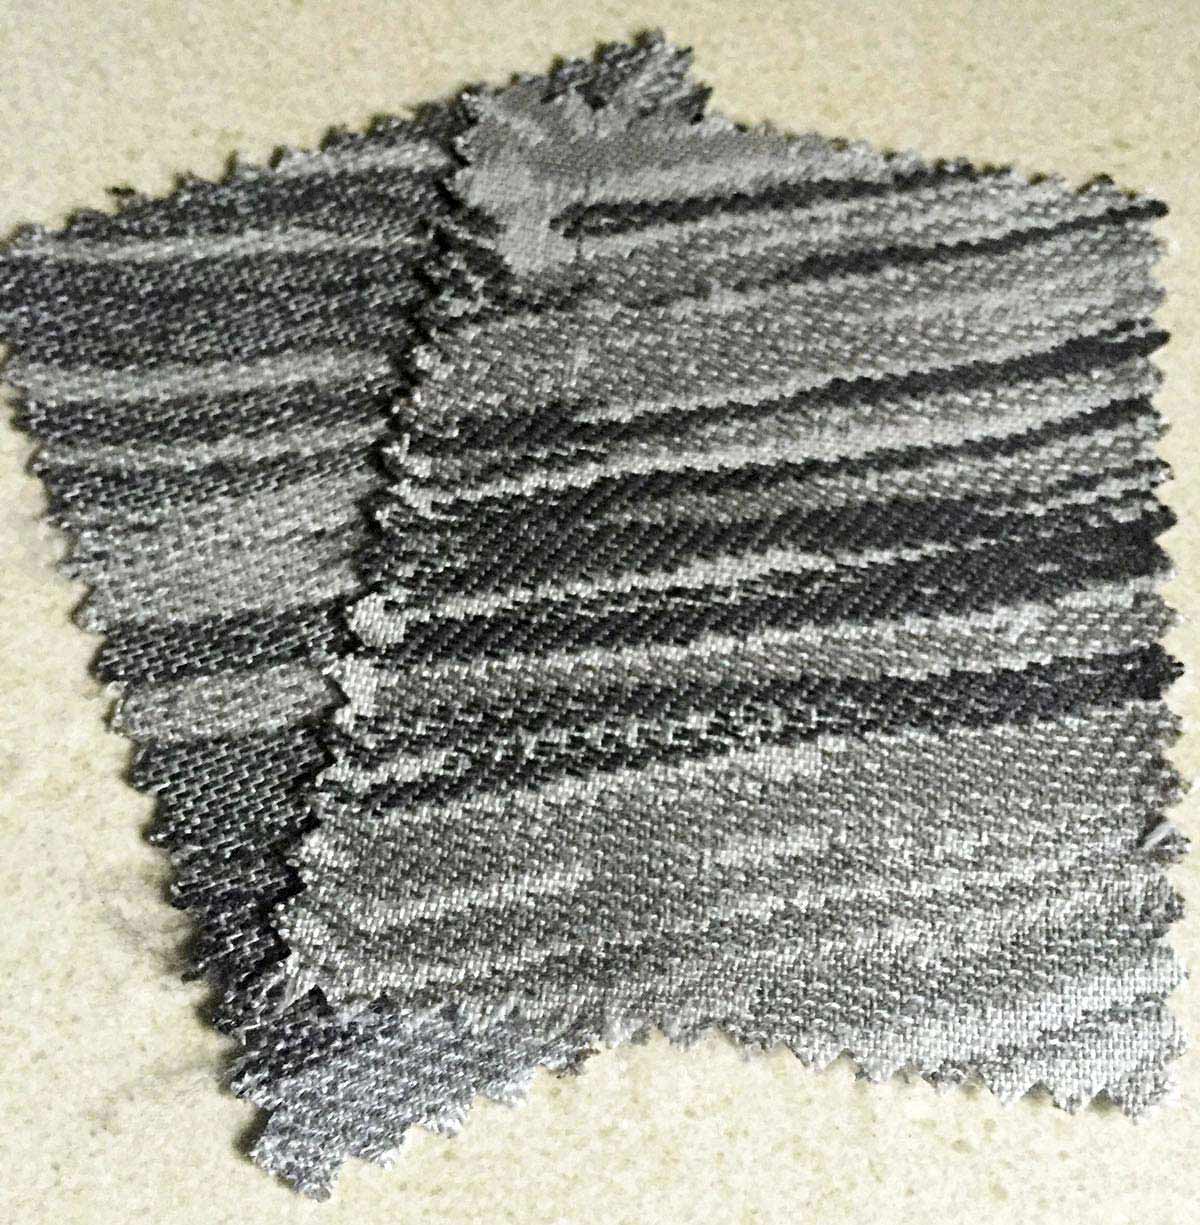
1. Create Artwork with Fabric Pieces
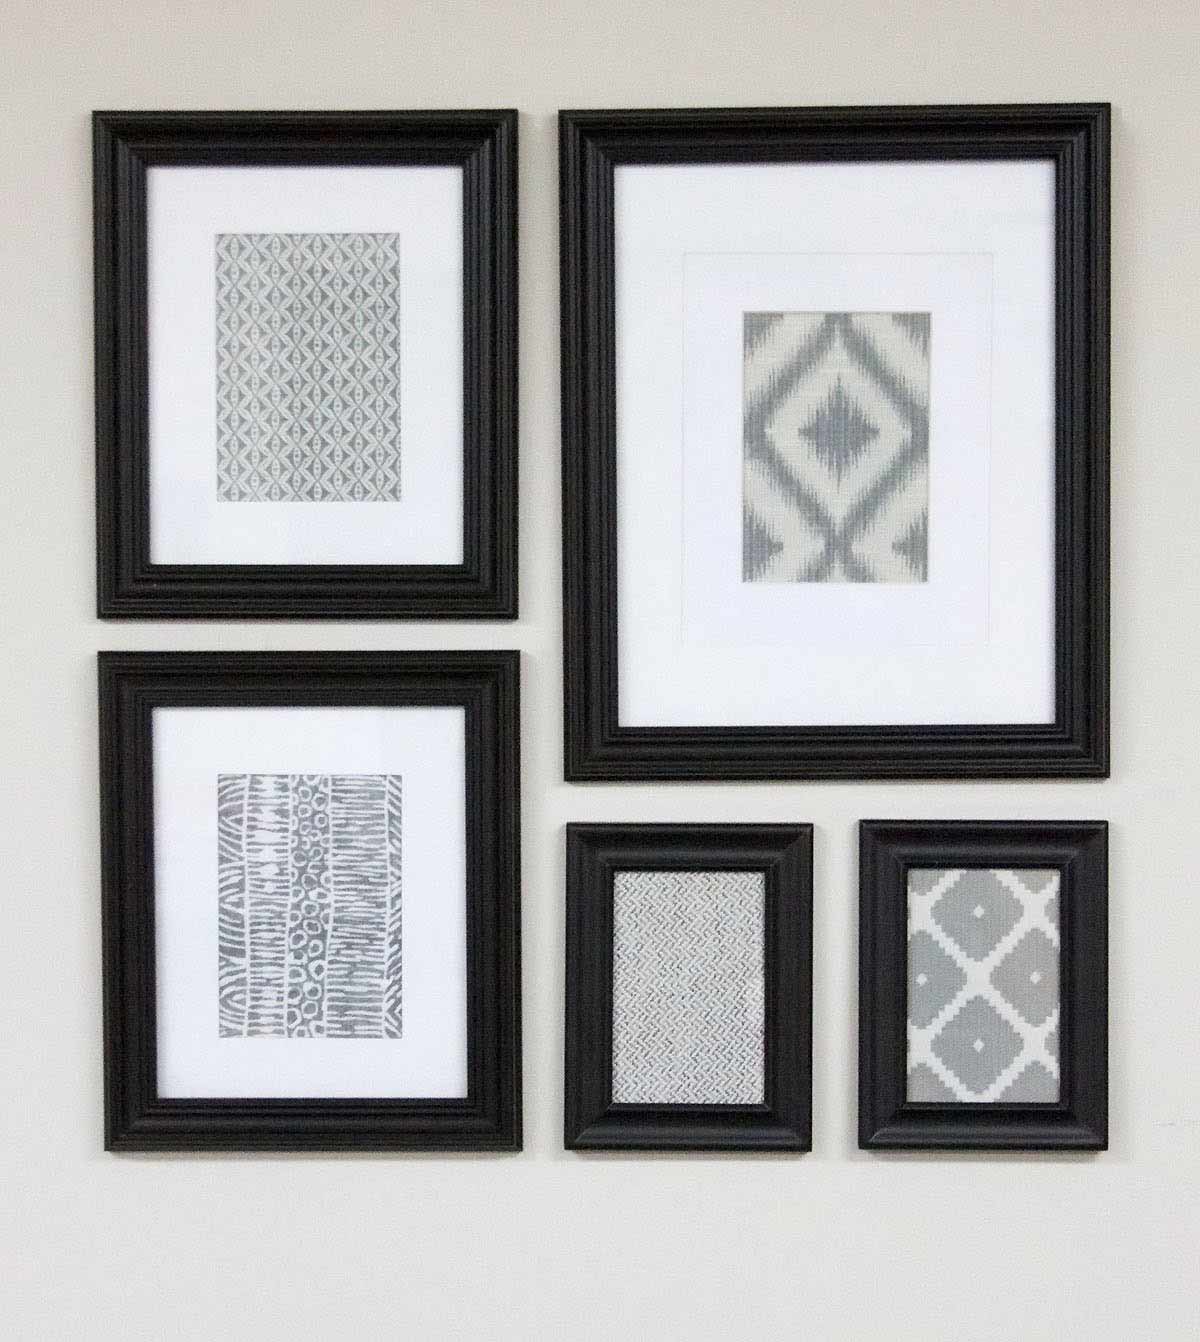
Creating artwork with fabric is by far the easiest thing you can do with extra fabric. First, you should decide what area of your home you are looking to add a gallery wall of your fabric artwork. You will need to decide what colors you want to use for your artwork. You may want to use a monochromatic palette, pull colors from existing furniture or accessories, or you may want to take an eclectic approach by using whatever mix of fabrics your heart desires. Remember, frame sizes will depend on the size of the fabric pieces you plan to use. However, if you have smaller scraps and want to use a large frame, you can use matting to take up the extra space. Then, evaluate your wall space allowance and placement of the picture frames. There are several ways to determine your frame placement, whether by drawing out your plan in a notebook or by using paper cutouts in the exact sizes of the frames and placing on the wall.
For my fabric artwork, I chose a monochromatic palette of gray fabrics placed in three different frame sizes.
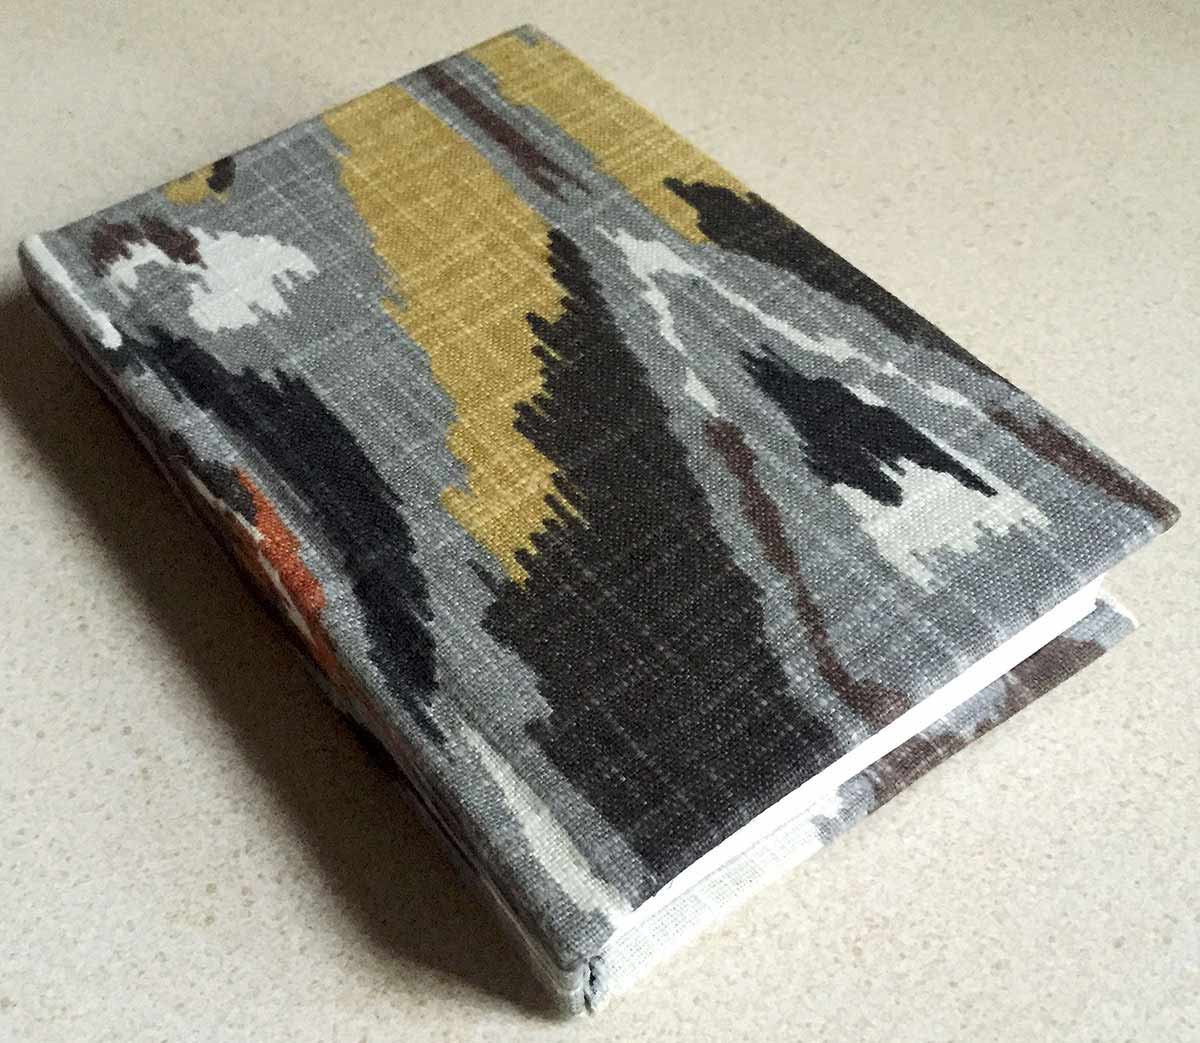
2. Cover a Notebook
Covering a notebook is another fabric craft that can be completed very easily! You can create a unique set of notebooks to provide a great gift for anyone.
Things you will need:
• Fabric
• Notebook
• Spray glue
• Mod Podge

For the fabric notebook, lay your fabric out and place your open notebook on top. Measure 1-2 inches extra around the notebook and then cut your fabric.
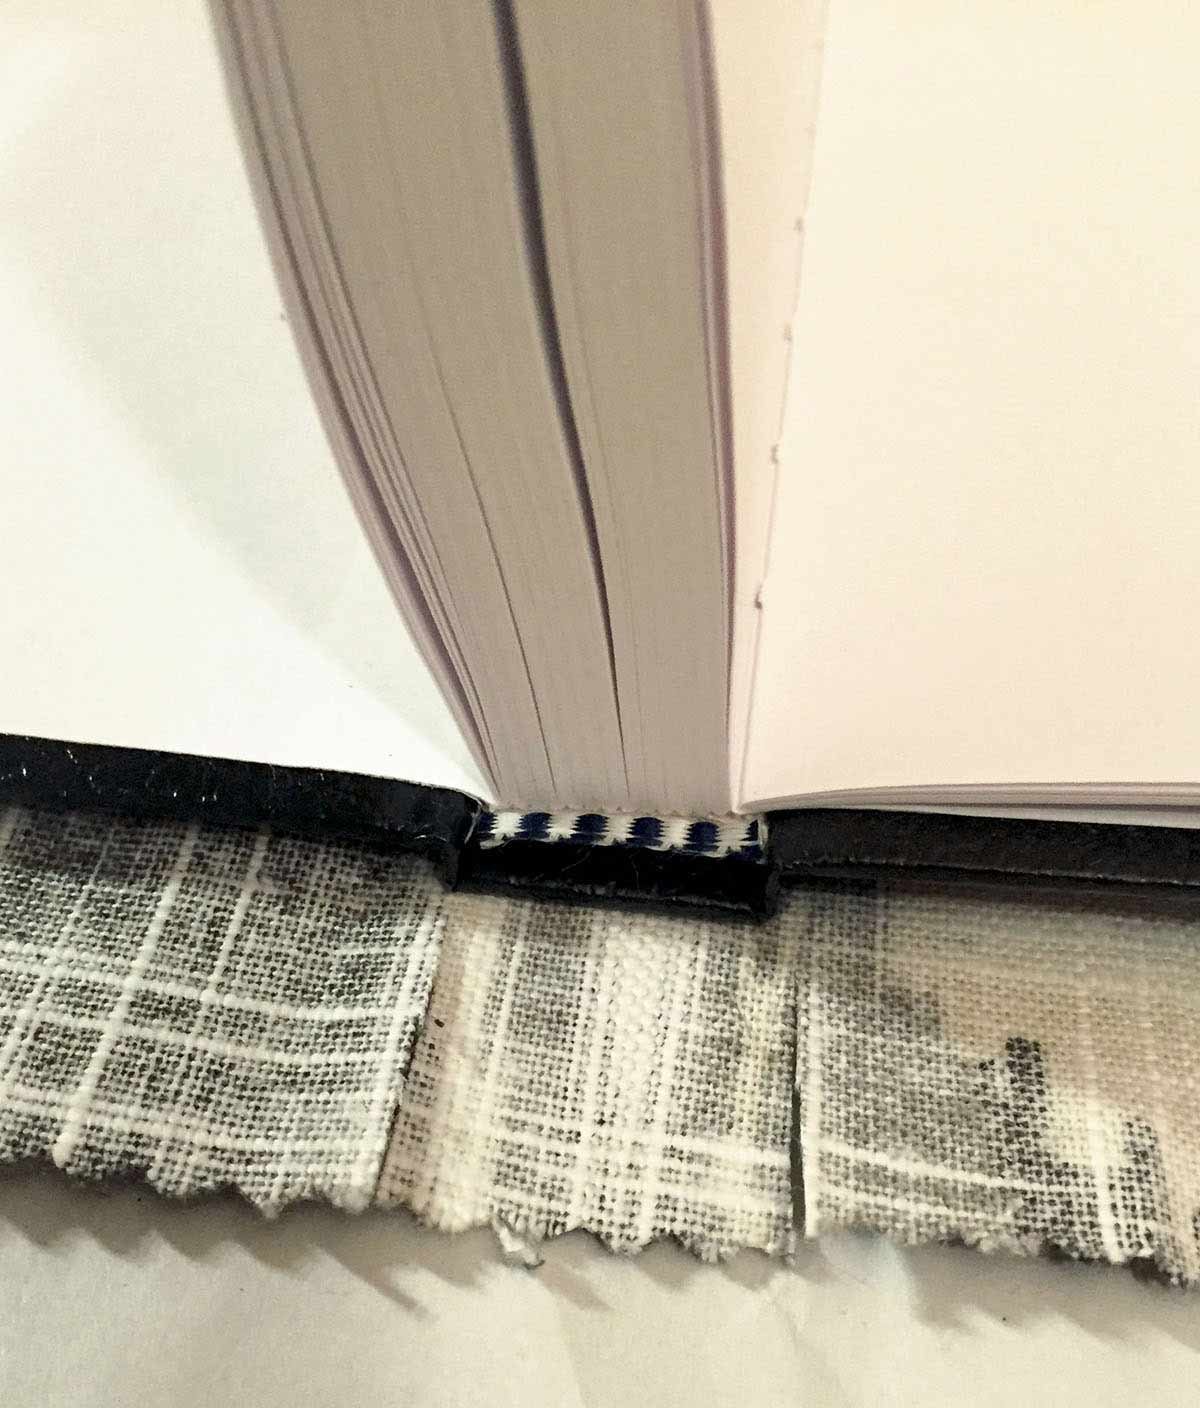
Cut two slits near the spine. Evenly coat spray glue on the back of notebook cover and then position your fabric on the back cover of the notebook. Smooth out any wrinkles. After placing the fabric on the back cover, do the same with the spine, then the front cover.
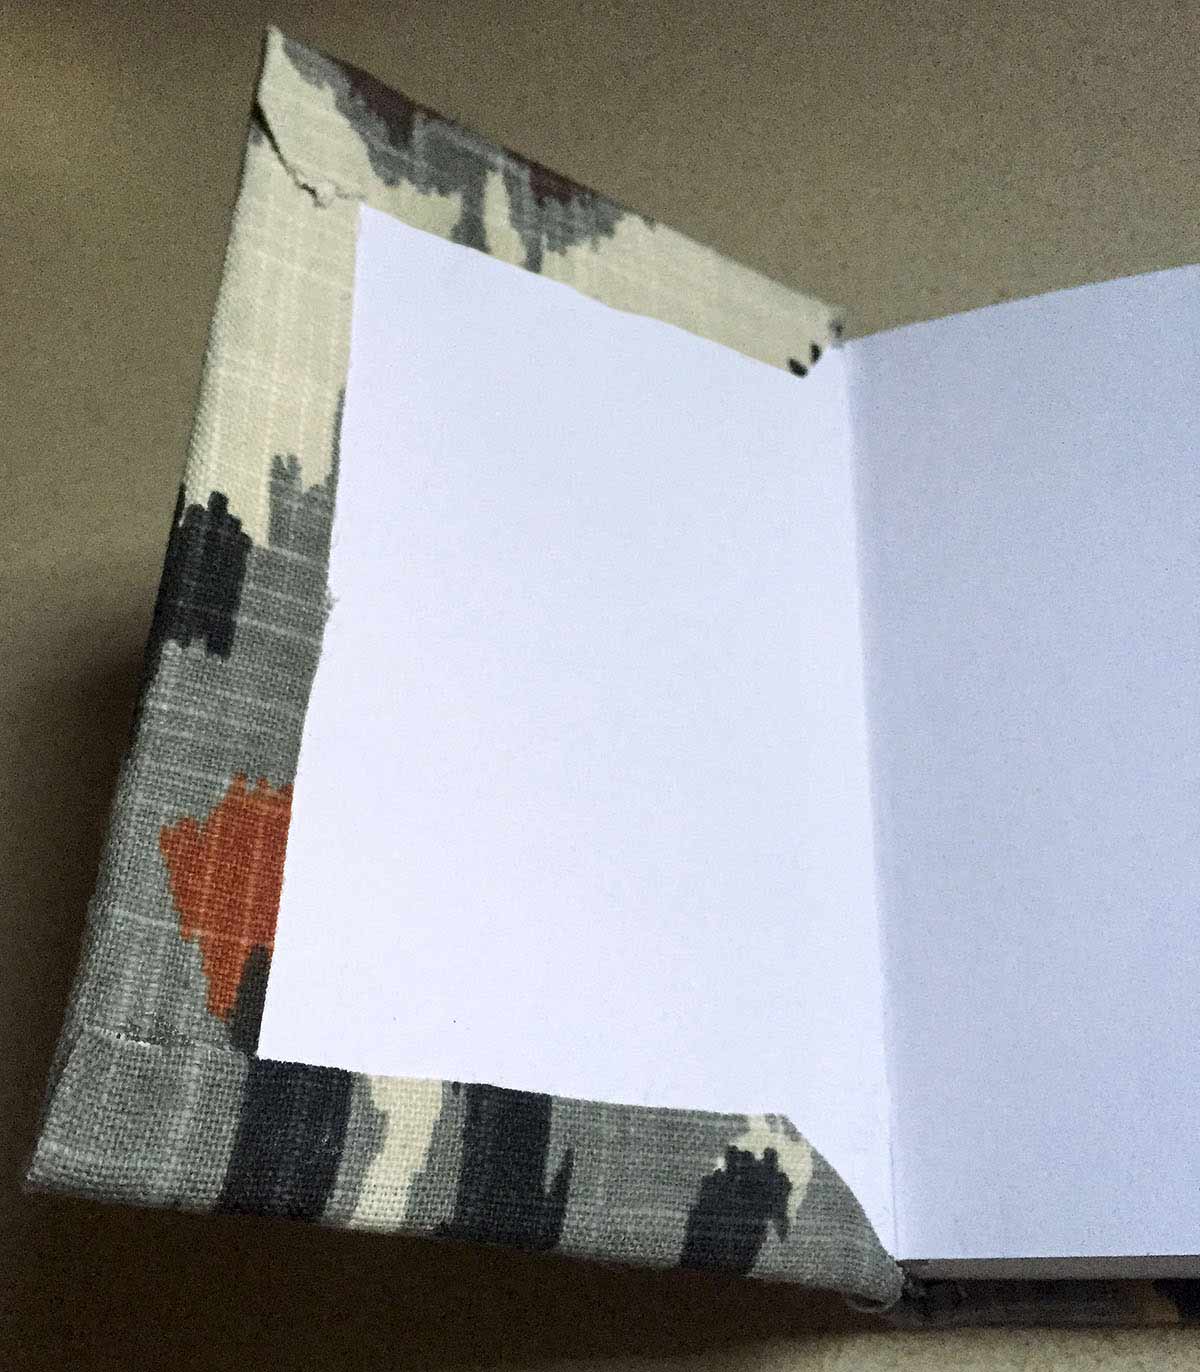
Use the Mod Podge on the edges of the fabric and press it down to the inside of the cover. Place a little Mod Podge on the spine fabric and shove it into the spine.
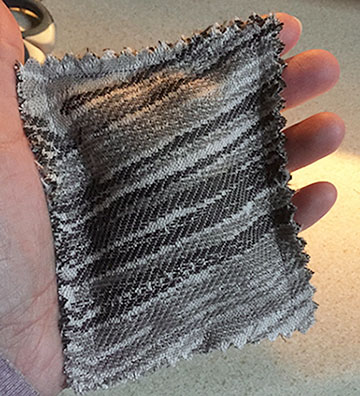
3. Make Hand Warmers from Fabric Samples
This is another simple project that can use up all of those fabric samples you’ve received over the years.
Things you will need:
• Sewing machine
• Fabric swatches
• Straight pins
• Rice
Of course, you can hand stitch your fabric together, but using a sewing machine is faster, and for me, less of a hassle. Also, most fabric swatches already have zigzagged edges, eliminating the need for pinking shears.
Taking two fabric swatches of the same size, you will place the backsides (or wrong sides) together and sew a seam around the edge, leaving a small opening for your rice. Be sure to backstitch at the beginning and end of your seam.
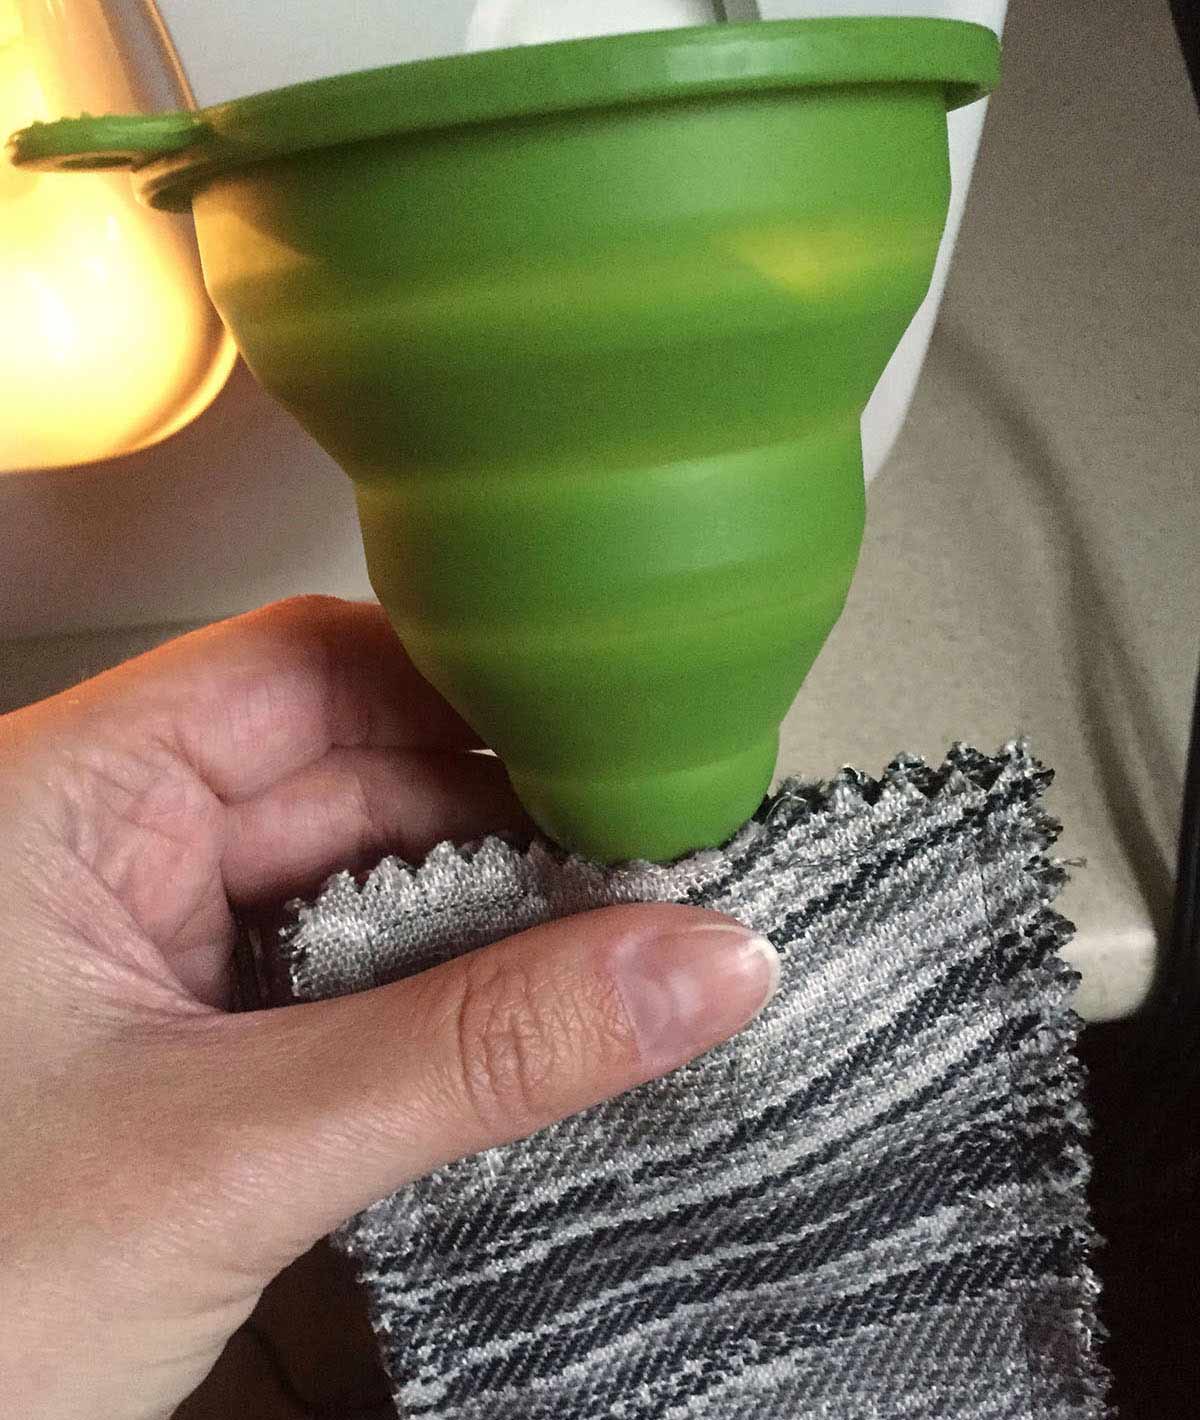
Fill your new bag with rice, about ¾ of the way. I had a small collapsible funnel that made this a lot easier. Leave enough space in the hand warmer for the rice to move around.
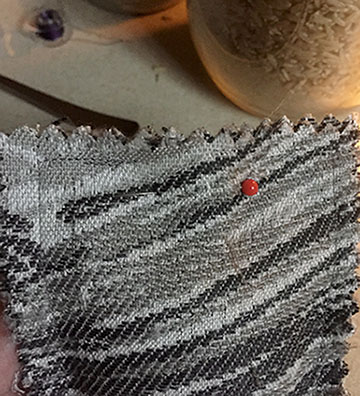
Now you’re ready to stitch the hand warmer closed. To prevent rice from spilling out, you will need to use your straight pins around the opening to block any escapees.
Sew the opening closed. And now you’re done!
If you don’t care for the zigzagged edges or have swatches with straight edges, you can always place the front sides of the fabric samples together, sew your seam, and turn them right side out. Then you can fill the bag with rice and stitch it shut.
4. Make a Pillow
Pillows are extremely easy to make and provide a great way to update your living space without having to completely redecorate. By making your own pillows with your fabric, you can save time and money as this project requires less than 30 minutes and only a few basic materials. In a matter of minutes, you can have a fresh new look for your sofa, chairs, or bedding.
Things you will need:
• Sewing machine
• Fabric
• Scissors
• Straight pins
• Fill of your choice
Select the fabric you would like to use and determine size pillow you want to make. Add an extra inch to the size you want to allow for the seam. Cut two pieces of fabric and be sure that both pieces are the exact same size. Place the pieces of fabric together with the front sides facing each other. Pin these pieces together to prevent them from slipping when you sew.
Begin sewing the two pieces together around the perimeter of the pillow, leaving an opening big enough for your hand to fit inside. Make sure you backstitch at the beginning and end of your seam.
At this point you need to turn your sewn pillowcase right side out, pushing all the corners out. Now stuff the pillowcase with the fiber fill. Fill your pillow as much or as little as you want, but do not forget to fill all four corners.
Once you are done filling your pillow, you are now ready to finish. Pin the opening shut. Run a seam across the opening, backstitching on both ends.
If sewing together your own pillow seems too complicated, you can always design your own pillow with your extra fabric and have it shipped to your door. Simply choose what type of pillow you want created, and within the fabric selection tool click the Customer Fabric option. This will allow you to send your fabric to Cushion Source who will then create your pillow and send it back to you once completed.
5. Update Your Rooms with Curtains
Trends come and go, and our styles usually change just as fast. A simple way to keep your home feeling new and in style is to update your home décor, and the fastest way to make a big change is to update your curtains. Requiring only basic skills, sewing curtains probably goes down as one of the easiest sewing projects.
Things you will need:
 • Sewing machine
• Fabric
• Scissors
• Measuring tape
• Straight pins
• Iron and ironing board
First, you will need to measure your windows and determine the length you would like your curtains. To measure the length, start at the top of the curtain rod down to the area you would like the bottom of the curtains to fall. Add extra length for a billowing effect. Then add 18 inches to this number. This total will serve as the length for each curtain panel. For the width of the curtains, it is easiest to use the width of the fabric itself. Remember to not include the selvedge (the outer edges of the fabric.)
Second, make sure to iron your fabric. This will help ensure your measurements and accurate sewing. Also, you don’t want to have wrinkled curtains!
Third, cut the fabric.
For the side hems, turn in the side of the fabric toward the back of the fabric about ½ to 1 inch. Iron and pin down. Sew your hem down the length of the curtain panel, backstitching at the beginning and end. Repeat on the opposite side.
Turn in your fabric at the bottom of the curtain panel about ½ to 1 inch. Iron and pin down. Now turn in your fabric about 5 inches in, iron, and pin down. Sew your hem at the top of the turned-in fabric and be sure to backstitch at the beginning and end of your hem.
For the rod pocket, you will repeat the same action for the bottom hem. Fold in your fabric about ½ to 1 inch, iron, and pin down. Now fold in your fabric 2 inches, iron, and pin down. Now sew a hem down the width of the fabric, backstitching at the beginning and end.
Now hang your curtain!
In the end, if you want to use your fabric for curtains, but you haven’t found the time to create them or you want curtains that have grommets or French pleats, then you can always have Cushion Source create the curtains for you with your own fabric. It’s as easy as picking out what you want and mailing in your fabric.
Maybe you love fabric but you don’t have the time or patience to create something from the fabric. Or maybe, like some of my friends, you think someday you will use the fabric to produce the craft you pinned on Pinterest, but that day never comes. If so, there are options for you. With customer’s own material procedures at Cushion Source, you can mail in your fabric, and they can create your project for you. From cushions and pillows to drapes and table runners, there are many projects that Cushion Source can create with your fabric!